I began UV work on assets within the level. I copied each individual asset within the scene so that I have 1 copy of everything. 1 of each panel type, 1 of each cable etc. I moved them out into empty space in a long line, then began UV work on them. I worked my way along the line of assets from left to right, ensuring the texel density was the same; or similar on every object.
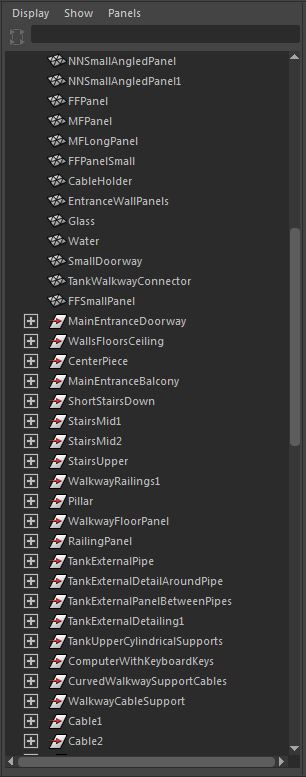
I arranged each object in the outliner and regularly cleaned the object history. Because I had so many panel variations I had to find a way of organizing them that made sense, so I used M, F and N to represent male, female and neutral. Similar to the system that's used to label cables, this allows me to look at a panel from the front and by looking from left to right understand which panel it is. For example, MFLongPanel; when I look at this panel from the front I know that the left hand side is male and the right hand side is female. I also know that the panel is long and not short. Organizing my outliner like this helped me to keep a handle on things, sometimes when your working with a busy Maya scene it can become difficult to keep track of your objects. Setting up my scene in this way ensures this doesn't happen.
Its important to note that I will be using seamless textures across all the assets I create for the environment. This will allow me to re use textures; lowering the size of the project, saving me time, and lowering the number of materials. This is important as we are limited to having 100 texture sheets. This is the reason you can see the UV space being repeated on each object.

The original meshes that I copied the assets from were all combined, then placed into a layer. This allows me to hide the level but use the wire frame to position the assets correctly later on.

Once all of the UV work was complete I placed each individual asset back into position using the wire frame as reference. I then froze the transforms and reset the pivot back into the center of the world. I did this so that when I import the asset into Unity it will be in the correct position. This is especially important for assets that are only placed once in the game world. For assets that are going to be placed multiple times I will have to copy them around, and put them in place manually.


You can see here how I have placed one of each asset into position using the wire frame as reference.

The next task for me was to clean up my hierarchy in Maya, I started by deleting the history along with any unwanted geometry. I then deleted any unwanted transforms and groups.


I then grouped any meshes together to create well organised assets. This also allows me to import a whole asset but apply different materials to different parts of the mesh.
Once I had the hierarchy organised I began importing assets into Unity.

Here are all of the assets placed into the unity project. I can now copy them around to create the environment.


