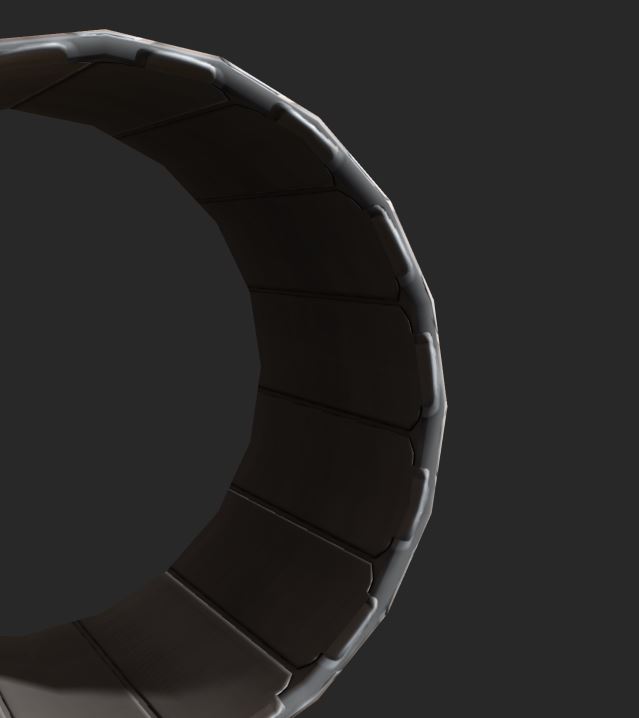
Mossberg 500 Shotgun, modeled by me as part of a third year project at university.
Showing posts with label Maya. Show all posts
Tuesday, 29 November 2016
Wednesday, 27 April 2016
Part Five: Games Art Asset, Viper Mk II Variant (CGA Year Two)
I began laying out my UV's in preparation for X Normal. The fan blades were the first thing I baked onto my low poly, I created an ambient occlusion map and a normal map. Then pieced them together in Quixel. I also applied all of my materials using colour ID's in Quixel. This is the process I used for all the assets on my ship. Using 3DO I will paint decals and extra detail using paint layers, I will also use NDO to create extra detail on my normal maps.
| Fan Blades in Quixel, textured using DDO. |
I had to create a cage to bake the main body of the ship. I did this to stop details from the high poly being baked onto the opposite side of the mesh.
Here is the final texture on the main body. I used the paint tools in 3DO to add all of the details. I got the decals from a fan made site detailing the creation of Battlestar Galactica.
| Here is the UV layout of the cockpit. |
| Here is the finished, textured version of the cockpit. I used colour IDs to separate the frame from the windows. |
Next I baked the jet fins down onto a low poly mesh. However there was a problem with the bake that I couldn't fix using X Normal. So I had to take the maps into Photoshop and fix them manually.
| Problem area. |
Here you can see the part of the normal map causing the issue.
I fixed it by painting it out using a tablet. It was time consuming but definitely worth it.
I did this across the whole normal map.
The ambient occlusion also needed to be fixed.
| Fixed normal map, broken AO map. |
I did the same thing with the AO that I did with the normal map and painted the problem areas.
Here you can see the end result. I then applied a material to the mesh in Quixel.
I carried on like this for the whole ship. However when I finished I realized there was a problem. I placed the ship into Unity with the materials and it became evident to me that I had too many materials for a single asset. I had 11 4k materials. While this created a great looking ship it was too much. So I began cutting the number of materials down by combining the meshes and materials together.
I combined the UV's and the materials down reducing the number of materials in Unity from 11 to 4.
Here is an example of one of the combined maps. I did this for the Albedo, AO, normal and specular. I have 3 other materials like this.
Part Four: Games Art Asset, Viper Mk II Variant (CGA Year Two)
Here is the low poly version of my ship. I took the high poly, deleted any unnecessary geometry and removed edge loops that weren't crucial to the overall shape. I also tweaked my typology and edge flow to ensure an even surface across all of my meshes.
Total tri count for the low poly: 36,191.
I now need to UV my ship and begin the texturing process.
Thursday, 17 March 2016
Part Five: Ninja Kebab, First Person Shooter (CGA Year Two)
I began UV work on assets within the level. I copied each individual asset within the scene so that I have 1 copy of everything. 1 of each panel type, 1 of each cable etc. I moved them out into empty space in a long line, then began UV work on them. I worked my way along the line of assets from left to right, ensuring the texel density was the same; or similar on every object.
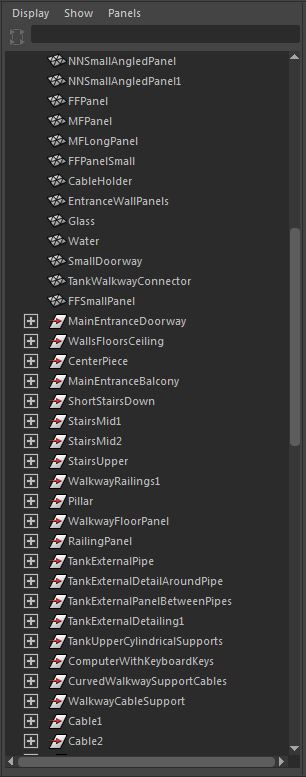
I arranged each object in the outliner and regularly cleaned the object history. Because I had so many panel variations I had to find a way of organizing them that made sense, so I used M, F and N to represent male, female and neutral. Similar to the system that's used to label cables, this allows me to look at a panel from the front and by looking from left to right understand which panel it is. For example, MFLongPanel; when I look at this panel from the front I know that the left hand side is male and the right hand side is female. I also know that the panel is long and not short. Organizing my outliner like this helped me to keep a handle on things, sometimes when your working with a busy Maya scene it can become difficult to keep track of your objects. Setting up my scene in this way ensures this doesn't happen.
Its important to note that I will be using seamless textures across all the assets I create for the environment. This will allow me to re use textures; lowering the size of the project, saving me time, and lowering the number of materials. This is important as we are limited to having 100 texture sheets. This is the reason you can see the UV space being repeated on each object.

The original meshes that I copied the assets from were all combined, then placed into a layer. This allows me to hide the level but use the wire frame to position the assets correctly later on.
Once all of the UV work was complete I placed each individual asset back into position using the wire frame as reference. I then froze the transforms and reset the pivot back into the center of the world. I did this so that when I import the asset into Unity it will be in the correct position. This is especially important for assets that are only placed once in the game world. For assets that are going to be placed multiple times I will have to copy them around, and put them in place manually.
You can see here how I have placed one of each asset into position using the wire frame as reference.
The next task for me was to clean up my hierarchy in Maya, I started by deleting the history along with any unwanted geometry. I then deleted any unwanted transforms and groups.
I then grouped any meshes together to create well organised assets. This also allows me to import a whole asset but apply different materials to different parts of the mesh.
Thursday, 18 February 2016
Part Three: Games Art Asset, Viper Mk II Variant (CGA Year Two)
I chose which grey box I wanted to use (number 7) and started to build onto it. Adding details such as engines, guns, ect. I plan to create the high poly first then create the low poly from it.
I further defined the shape of the ship as I went along; changing my design as I please. I did however keep in mind my source of inspiration (Viper Mk II), I also tried to think of practical uses/ defenses for every part of the ship as I built it.
I kept adding detail such as fan blades inside the engine and fins on the jets. I used the F16 fighter jet as inspiration for the fins copying their design as closely as I could.
Eventually I decided to stop and build my low poly. I didn't want to add too much detail to the high poly or it could be difficult to bake down onto the low poly. And I wanted to maintain a simplistic design similar to that of the Viper Mk II.
Total tri count for the high poly: 161,419.
Subscribe to:
Posts (Atom)