Saturday, 5 December 2015

Group Project, Finishing off the Level in Maya/ Unity. (CGA Year Two)

Once I had finished building all of the textured parts for the level I began exporting them individually as FBX files with the media embedded. I exported them directly into the assets folder of a new unity scene which I had open.


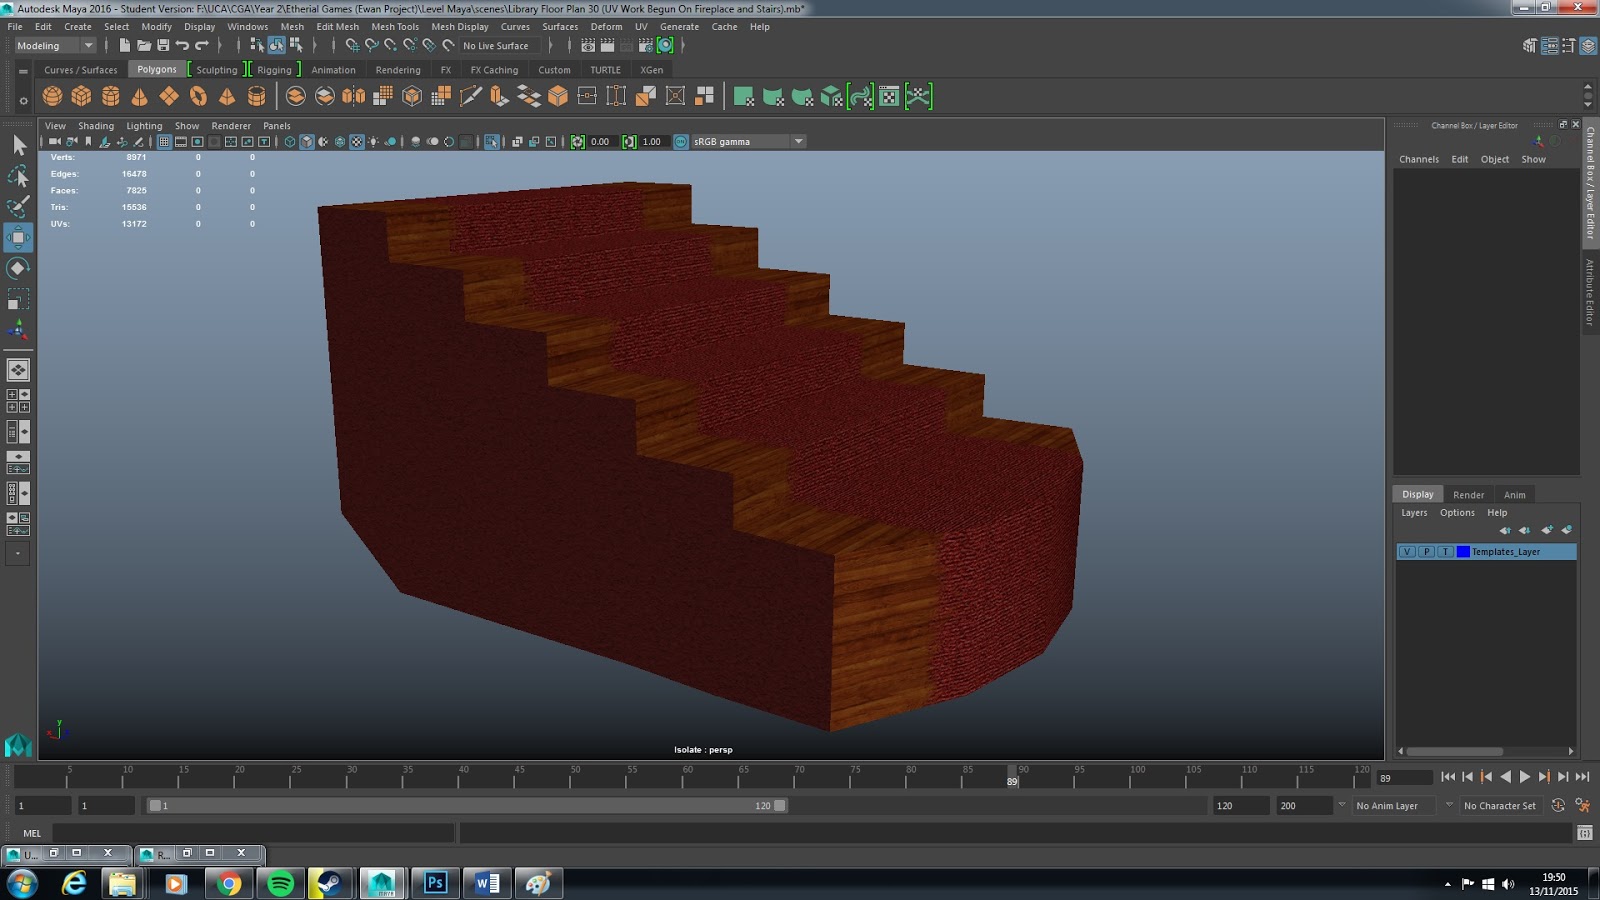
You can see here how I made everything once.
I made everything once with the intention of exporting the objects from Maya to Unity and then duplicating them around the Unity scene. I will fully build the level within Unity.


I placed all of the objects into Unity and constructed the level.


I decided to tidy up the Hierarchy in Unity by grouping the assets together. This allows Me to keep track of the number of objects within the scene. 


I tidied up the scene and applied finishing touches to the level. This included lighting and adding mesh colliders to all of the objects in the level. I did this to ensure the player doesn't clip through objects in the world. The lighting also helps to create atmosphere and set the scene.

I made all of the library walls, floors and ceilings two sided to stop light pouring in. This will create nice crisp shadows around the windows and build upon the atmosphere.


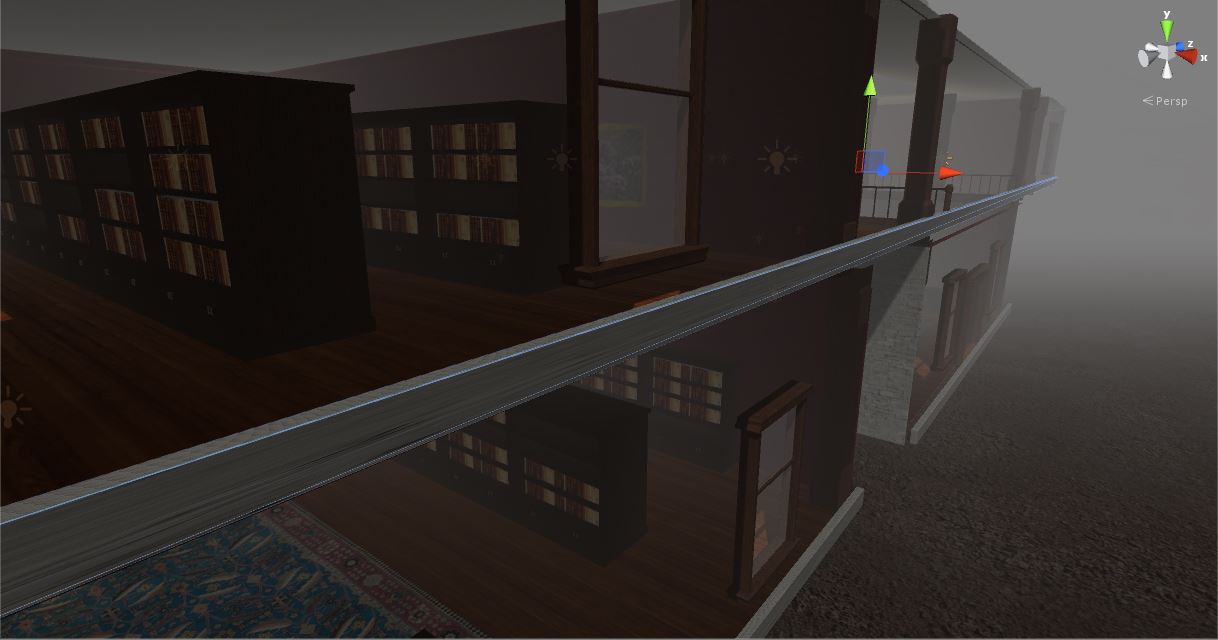
When I turned the faces two sided I noticed thin white lines of light seeping through the mesh. To solve this I edited the lighting bias. I also placed a long thin block across the edges where the floor and walls meet. I did this to block any remaining light from breaking through the edges of the mesh.


I then added in Fog along with a ground outside and external buildings. I also changed the Sky Box from Unity's default Sky box to a simple Gray Lambert. This really added to the fog and removed any hint of a horizon. It now appears like an extremely overcast day. It also builds upon the atmosphere and premise of the story line. It is a ghostly, barren world. Was this caused by war? Or is it symbolic of the characters death? I wanted to leave that for the player to decide.

I then went back through all files that I will submit to make sure they are well organised.

For example:


I reorganized all of the objects within the scene into corresponding groups that make it easy to find individual assets within the Maya file.

This was the final step in the construction of this level. It was now ready to hand over to the game designer.

Final Screenshots.


Tuesday, 24 November 2015

Working with Shader Forge and Particle FX: Unity/ Maya (CGA Year Two)

In this lesson We covered the basics of creating Animated Textures and Particle Effects. We also touched upon Vertex Painting which is something I really want to look into more.

Working in Shader Forge.
Creating and customizing Particle Effects.
Vertex Painting in Maya 2016.
I really enjoyed this lesson, it taught Me useful skills and techniques that I will definitely take away with Me and hopefully use again soon.

I felt this lesson was much more interesting and engaging than previous lessons. I struggle with coding and found it difficult to animate last week, so using skills and techniques that are relevant to what I want to do (Environment Art) was very refreshing.

Tuesday, 17 November 2015

Group Project, Texturing Assets. (CGA Year Two)

In this post I will cover My method of texturing all assets for the level. This includes the level itself. All textures within this game are 2048 x 2048 pixels in size, otherwise known as (2K).

I will be demonstrating how I texture objects using a set of stairs.

The first step is to UV unwrap the object You want to texture. I did this by Planar Mapping specific groups of faces at a time. I then laid out the UV Shells in the 0-1 space in the UV Editor. I used the checkers to make sure the UV's were to a correct scale. Then I saved out a UV Snapshot.


I took this UV Snapshot into Photoshop where I began to edit it.


Using images I gathered from public sources I created textures which I edited to suit My needs.


I overlaid these images over the texture sheet to correspond with the UV's. The top of the UV snapshot is occupied by the stairs. The bottom of the Snapshot is occupied by the sides and rear of the staircase.


I placed the wooden planks over the stairs and the red carpet on top. The sides of the staircase are just the wallpaper that I intend to use for the entire library.


I saved the image out of Photoshop as a jpeg and applied it to the material on the staircase. As We are limited to using solely diffuse maps this completes the texturing process.


I carried on texturing all of the objects within the scene. This includes assets.

Here are some more examples of Textured Objects and a small sample of Texture Sheets that I have created for this project. The majority of textures I have used started off as an image taken from the internet, or photo's I have taken myself. However I heavily edited a vast majority of them using filters and deformation tools in Photoshop such as Warp. I even painted over a few of them myself. This was in an effort to avoid Plagiarism. I will reference all the images I used at the end of this project.


I did also use Seamless Textures that I created myself using the Offset Tool in Photoshop.

A seamless texture, created using photo manipulation and digital painting.
This seamless texture makes up the muddy floor outside. I tiled it 10 times across a large plane to create the illusion of one huge texture.

I did also create my own artwork for use in game outside of textures.

I haven't tried my hand at concept art for a while now so I thought id use this as an opportunity to create some.

Before this course I used to be a Photographer so luckily for Me I have a large back catalog of images to use in artwork. I have recently started learning about a technique called Photo Bashing. Photo Bashing is when an artist creates a scene by combining together multiple images at once. I decided to create some paintings to place within the environment using Photo Bashing.


Painting 1.


Painting 2.


Painting 3.


You can see here how I combined images together to create a piece of artwork to place onto the paintings in game. I tried to create paintings that were relevant to the period of time this game is set in. For example, Germany prided itself on its explorers at the time. So it would make sense for the paintings to be of explorers/ exploring.

This was a nice exercise that helped challenge Me in an area other than 3D modeling.


Working with Animator: Unity (CGA Year Two)

In this lesson We worked with Animator. We applied animations in Unity and made a Character run using the point and click mechanic that We created some weeks earlier.


I found this process difficult to complete as im not 100% confident with Unity yet. Im sure that as I progress further through this course my confidence will grow when in Unity and with Animator in particular.