Mudbox tutorial, learning the basics.
 |
| Creating a basic cube. |
 |
| Using the sculpt tool to warp the object. |
 |
| Adding a texture. |
 |
| Falloff radius (paint tool). |
 |
| Steady stroke to help guide the brush. |
 |
| Sculpting using brush types. |
 |
| Using a stencil to paint on the model. |
 |
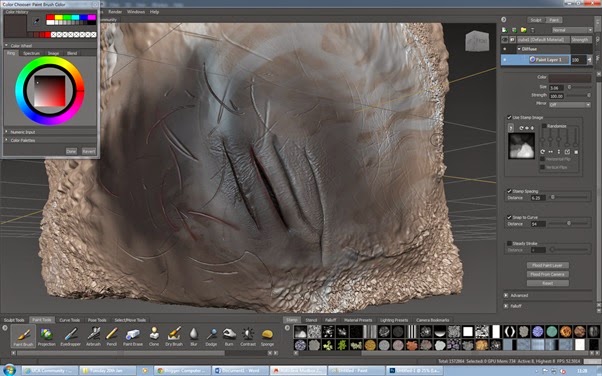
| I created scars using the knife tool. I then used the pinch tool to drag the edges together to make them look more like scars. |
 |
| Using the freeze tool I marked out the scars so they don't change when I sculpt around them. |
 |
| I created a basic texture in Photoshop to look like scars that match the scars I have already created. |
 |
| I then gray scaled the image so that it can be applied to a model in Mudbox using the paint brush. |
 |
| Gray scaled texture. |
 |
| I applied this new texture using the sculpt tool and the brush I had just created. I then painted over the model so that the scars look more realistic. |
 |
| Creating a 3D texture using a bump map. Bump maps trick the eye into thinking the model is 3D when actually the model is flat. The texture simply replicates what would happen if the model was 3D. It replicates the light and shadow that would exist if the model was 3D. |
 |
| Applying a material preset to the object. |
 |
| Lining out the basic shape. |
 |
| I've shaped the top of the skull and begun shaping the jaw line. |
 |
| Here I have begun sculpting the back of the T-Rex's head. |
 |
| I finished sculpting the top/ spine of the T-Rex. |
No comments:
Post a Comment