Wednesday 27 April 2016

Part Five: Games Art Asset, Viper Mk II Variant (CGA Year Two)

I placed my ship into unity and applied all of the combined materials. I then animated the ship, jets and camera. The camera spins around the ship covering the whole model. I also added sounds to the scene, including the main opening soundtrack to Battlestar galactica.

I also added particle effects, a skybox, lights and a flare behind the directional light so it looks like the ship is flying past a star.

Here are some screenshots covering the one minute animation that displays my model.


The camera pulls away from the ship towards the end making it seem like its speeding off into the distance.

This scene is the conclusion to this project. I am happy with the way the ship, and the unity scene turned out. However I did make a few mistakes along the way. but I learned from these mistakes and I feel as if during the next project I do will be better.

Part Five: Games Art Asset, Viper Mk II Variant (CGA Year Two)

 I began laying out my UV's in preparation for X Normal. The fan blades were the first thing I baked onto my low poly, I created an ambient occlusion map and a normal map. Then pieced them together in Quixel. I also applied all of my materials using colour ID's in Quixel. This is the process I used for all the assets on my ship. Using 3DO I will paint decals and extra detail using paint layers, I will also use NDO to create extra detail on my normal maps.


Fan Blades in Quixel, textured using DDO.

I had to create a cage to bake the main body of the ship. I did this to stop details from the high poly being baked onto the opposite side of the mesh.


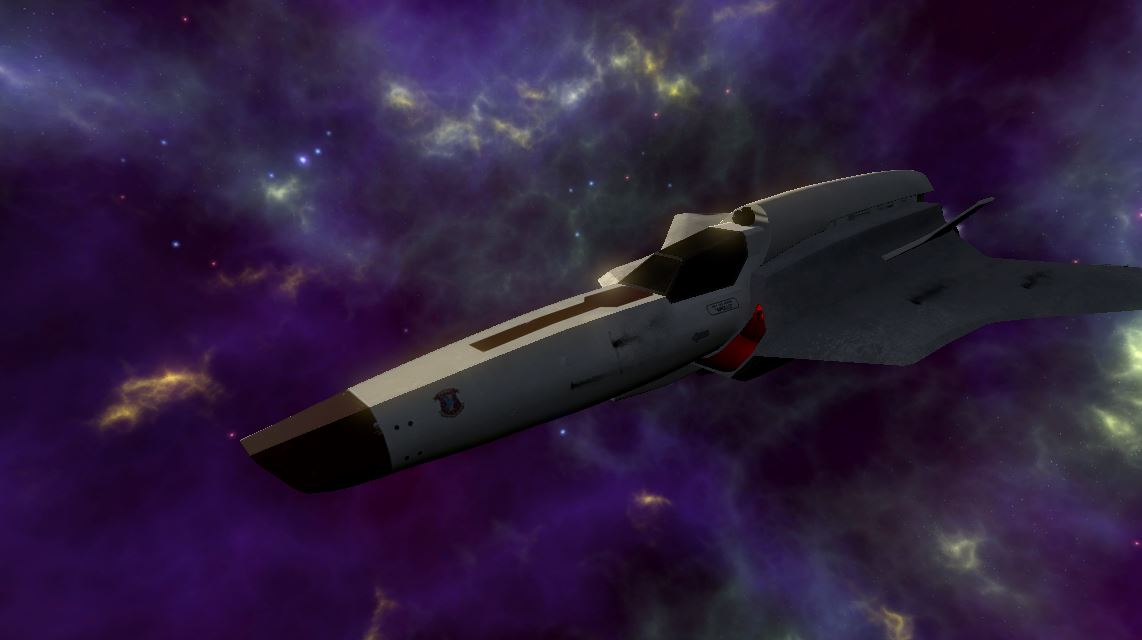
Here is the final texture on the main body. I used the paint tools in 3DO to add all of the details. I got the decals from a fan made site detailing the creation of Battlestar Galactica.


Here is the UV layout of the cockpit.

Here is the finished, textured version of the cockpit. I used colour IDs to separate the frame from the windows.
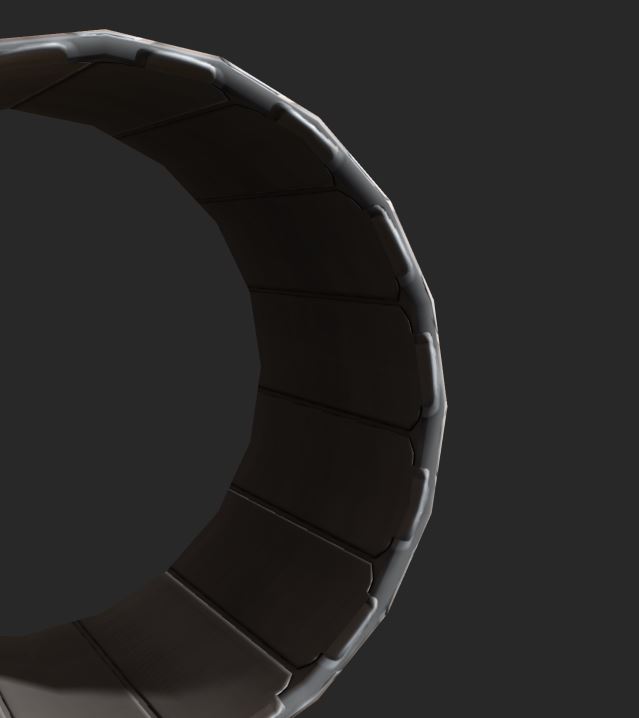
Next I baked the jet fins down onto a low poly mesh. However there was a problem with the bake that I couldn't fix using X Normal. So I had to take the maps into Photoshop and fix them manually.

Problem area.


Here you can see the part of the normal map causing the issue.


I fixed it by painting it out using a tablet. It was time consuming but definitely worth it.


I did this across the whole normal map. 

The ambient occlusion also needed to be fixed.

Fixed normal map, broken AO map.


I did the same thing with the AO that I did with the normal map and painted the problem areas.


Here you can see the end result. I then applied a material to the mesh in Quixel.


I carried on like this for the whole ship. However when I finished I realized there was a problem. I placed the ship into Unity with the materials and it became evident to me that I had too many materials for a single asset. I had 11 4k materials. While this created a great looking ship it was too much. So I began cutting the number of materials down by combining the meshes and materials together.


I combined the UV's and the materials down reducing the number of materials in Unity from 11 to 4.


Here is an example of one of the combined maps. I did this for the Albedo, AO, normal and specular. I have 3 other materials like this.

Part Four: Games Art Asset, Viper Mk II Variant (CGA Year Two)

Here is the low poly version of my ship. I took the high poly, deleted any unnecessary geometry and removed edge loops that weren't crucial to the overall shape. I also tweaked my typology and edge flow to ensure an even surface across all of my meshes.


Total tri count for the low poly: 36,191.

I now need to UV my ship and begin the texturing process.

Wednesday 13 April 2016

Part Eight: Ninja Kebab, First Person Shooter (CGA Year Two)

This is the start of the baking process, George (Game Designer) removed anything with a high amount of detail, or an emmisive texture to lower the time it took to bake. He did this to get an idea of how long it will take to bake, and to get the settings right before baking. Otherwise it could be a waste of time baking something for a whole day, if it doesn't turn out the way we want it.

However this does demonstrate what the models I built will look like in the final version.

Screenshots below.


The grey crate in the center of the room (left hand side of the image) was modeled by our prop artist, Reece.


Part Seven: Ninja Kebab, First Person Shooter (CGA Year Two)

I placed all of the assets in engine and applied PBR materials to them. I then re made the level in engine by duplicating assets and putting them into the correct place. I used the old grey box as my reference.

I also applied finishing touches such as the blood splat decals.

Here are some screenshots of the level.


After a group meeting we decided to extend the level to allow the player greater movement. However I didn't want to push the tri count up any further as our total asset count is limited to 300,000 tris. So I duplicated the lab, turned it around by 180 degrees, and placed it onto the back of the already existing room. This saves on tris but looked strange. So I created a wide hallway to connect both rooms via the two small doors at the back of the room.

Connecting hallway.


This is the other room, I removed the tank in the middle of the room. I did this to give the prop artist room to place his assets in game. I also wanted there to be an obvious difference between the two rooms so the player knows where they are.


I made sure to leave enough room whilst building this level for the prop artist (Reece Stansbury) to fill out with his assets. This is why (in its current state) the level looks minimalist.

Overall I am very pleased with the result. Its close to the concept and has provided us with a solid level to build a great game off of.

I handed the level over to the game designer a week ago. He will start the baking process. Then integrate it into the current build of the game.